After the more detailed explanation of the Set up procedure for the big Freud bit (here), this is a simplified version of the same procedure.
It demonstrates how the procedure is actually done, once details such as offset, and exact vertical height point etc are established once and for all for your particular router bit. The real world set-up is a matter of minutes!
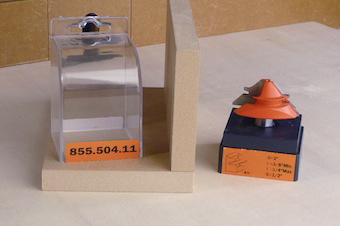 |
This time we’ll be using the small CMT bit, made for thinner stock. |
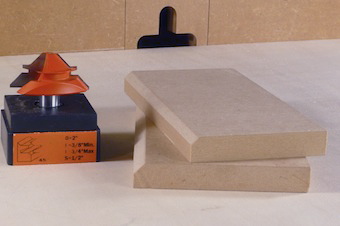 |
Thinner doesn’t mean less work for this bit, so it’s a good idea to cut off a small corner at the table saw. |
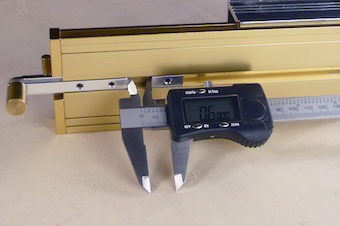 |
The offset is 0.600”. Look here for a good idea to make this even easier. |
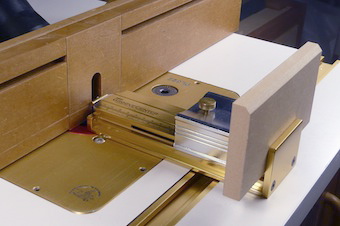 |
We place the GrooveCenter in the router collet. With the work piece in the Carriage, the Fence Pin indicates the exact position of the Router Fence. |
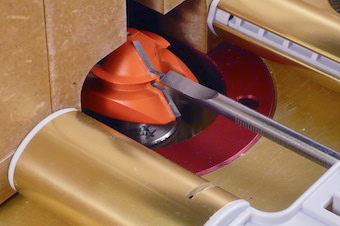 |
With the 2-Axis Depth Gauge (look here for more details) register the distance to the fence and using this to set the bit height. |
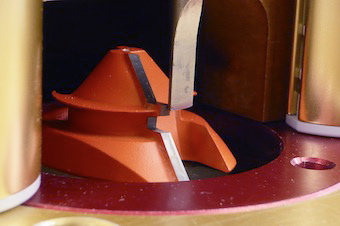 |
Again, half way this vertical part is a good start. The exact spot needs to be determined once and for all. (Note it down for future reference). |
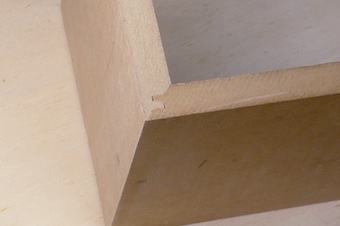 |
The result is perfect! |
Related Articles


